 Gilman Studio On-Line Lessons
Yang Style
Tai Chi Dao/Saber/Broadsword
This Lesson Contains:
Movement 5 – Cut Horizontally To The Right
Following the flick and change hands, Stephie attempts to make a horizontal cut to my neck. I duck under her cut and cut across her mid- section or even her knee. I use a slicing cut for this move, as opposed to a slashing cut. This movement has the feeling of drawing the blade across something, almost like a bow on violin strings. This particular cut requires a strong torso turn to the right.
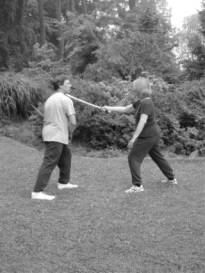
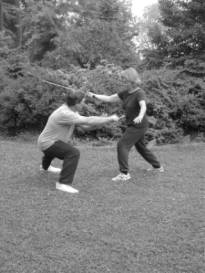 Stephie attempts to cut my neck. I duck, stepping right, and cut/slice her waist.
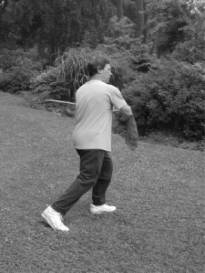
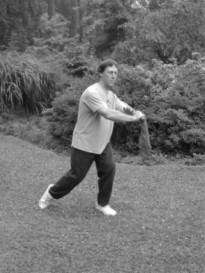 Sinking the weight deeper into the left Kua/leg, roll up onto the right toe.
The left hand rotates a bit clockwise and moves up to face the right wrist. It will assist in the rather strong cutting motion to the right. Keep the saber parallel to the ground.
Focus on sinking the energy into the left leg.
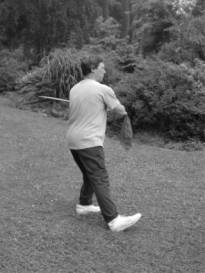
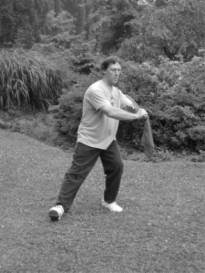 Step ahead with the right heel. The toe faces slightly to the right of west. Be sure to step wide enough to accept and act as a brake for the strong movement to the right.
The torso and arms stay in the same basic position.
Focus on the right foot for proper placement.
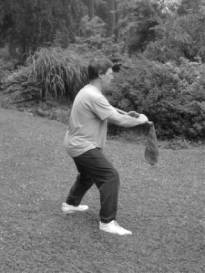
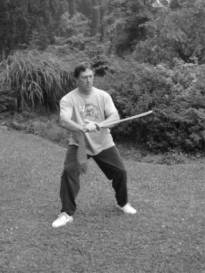 Shifting the weight onto the right foot (about half way at this point).
The torso is turning right as the body moves forward. Do both of these actions at the same time.
The arms move with the torso turn, and stay at waist level. You are starting to draw the saber to the right. At this point you might be making contact with the opponent’s body.
Focus on the cutting edge of the saber (the upper third of the blade).
The weight is shifted completely onto the right leg. The knee just covers the toe. The torso faces the same direction as the toe.
The arms continue to draw the saber to the right and end quite a bit to the right at waist level. The cutting edge (the last third) is slightly to the left of your center. The saber is parallel to the ground and parallel to the front. Glance back at the application picture to see why.
Focus on the cutting edge of the saber.
Note: The broadsword was generally just sharpened on the upper third part. The rest was rather thick to add weight and to be able to be used as a blocking surface. One certainly never wanted to dull the razor sharp cutting edge by using it for blocking or parrying.


